 0 Comments
Burning through your meal plan points at Liz’s Place? Bwog has the solution for you.
Like many, I can’t get through the day without coffee. In fact, aside from a few days over the summer, I’ve had coffee every single day for the past two years. Is this good or healthy? Absolutely not. Will I make any effort to become less reliant on caffeine? Also no.
But the price of coffee—along with the price of everything else—has skyrocketed as of late. Even when you try to go for the cheaper options, the cost can pile up. As students, various coffee options are covered by our meal plans, but for us true addicts, even the meal plan sometimes isn’t enough. There are only so many points and meal swipes I can waste at Liz’s before I have nothing to eat for the rest of the semester.
This wasn’t a huge problem in my freshman year, when I could endlessly burn swipes on the 19-a-week plan, but what was I to do during sophomore year? Luckily for me, I got a job as a barista the summer after my first year and learned all about the art of making coffee myself. As my fellow baristas will know, one of the best parts of the job is the free drinks. After three months of daily high-quality beverages, I was hooked. I knew when I came back to campus, the bitter, watered-down coffee machine coffee wouldn’t cut it anymore. I was going to start making my own coffee at home.
Although it took me way too many less-good attempts to pare down this recipe (which is fully on me, BTW). It should not have taken this long. I’m a disappointment to the barista community), I now present my at-home iced latte regimen. There are a million ways to alter this if you prefer coffee without milk, hot, etc., but this is my preference as a sweet-tooth-haver. Also calcium! (Or at least that’s what I tell myself).
This isn’t your average pre-mixed, chemical-y Keurig pod or instant blend—this is a legit latte, made from scratch using real espresso and milk for an exponentially lower price than what you’d normally have to spend for a decent latte around campus.
Estimated prep time: 10-15 minutes
What you’ll need:
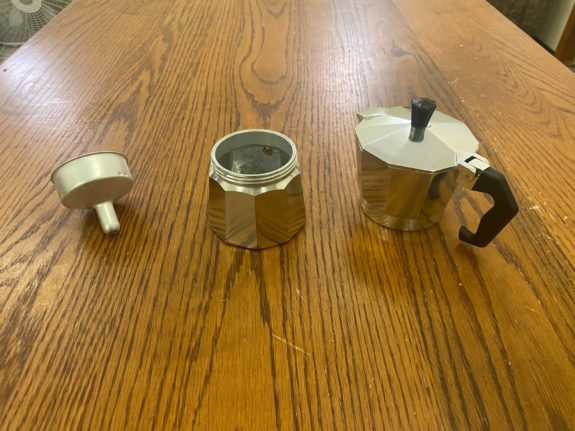
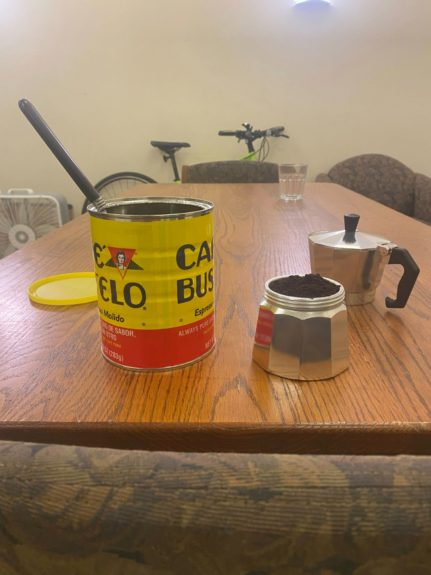
- One moka pot: This is the key to an at-home iced latte. A moka pot (pictured below) is an Italian stovetop coffee maker that uses steam pressure to brew coffee. The result isn’t quite coffee and isn’t quite espresso—but it’s closer to the latter and is a great espresso alternative in a latte! Yes, you could get an expensive espresso machine or use pods, but moka pots are relatively affordable (you can usually find a decent one for around $20—or the price of two lattes in this economy), and they take under 10 minutes to brew.
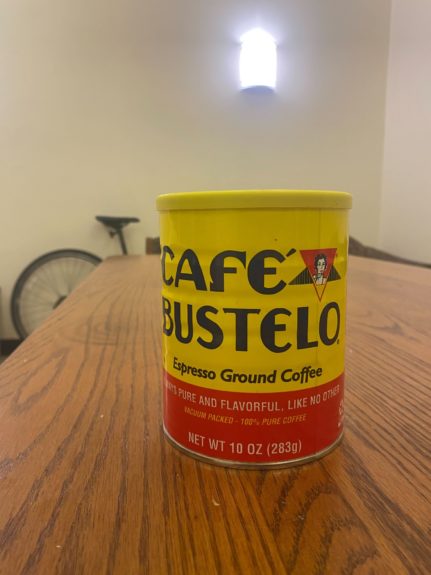
- Espresso grounds: Here, I’m using Cafe Bustelo, but any brand works!
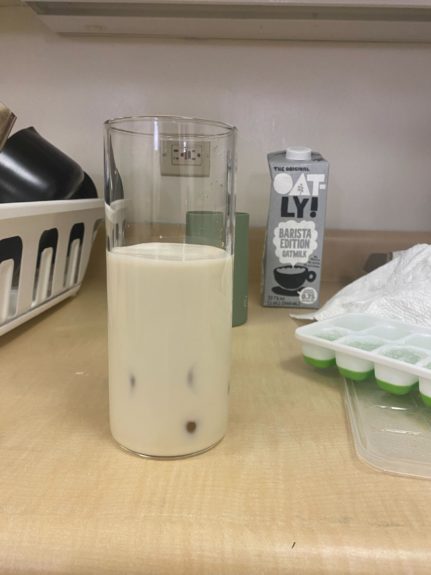
- Roughly 5 oz of Milk: I’m using oat milk in this particular recipe, but again, this is up to your preference!
- Ice cubes: Depends on the size of your cup, but I typically use eight to ten.
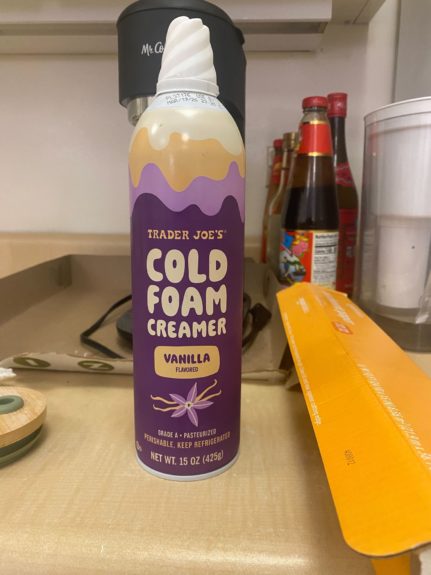
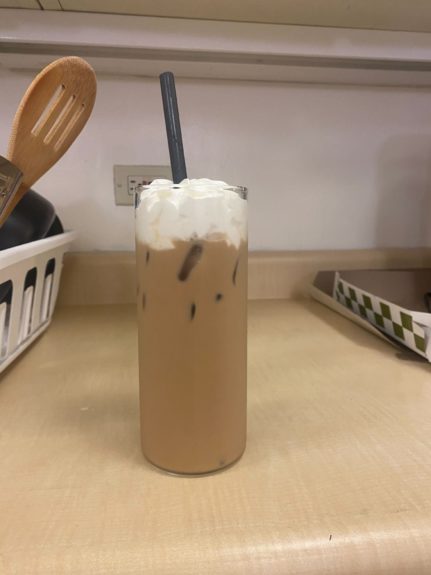
- Optional: Flavor and/or sweetener. In this particular recipe, I’m trying out the Trader Joe’s vanilla cold foam! Cold foam, whipped cream, flavored syrup (mocha, vanilla, caramel, etc.), or a bit of sugar (dissolve it in water first) can be added if you want a kick of sweetness.
Instructions (visual reference below):
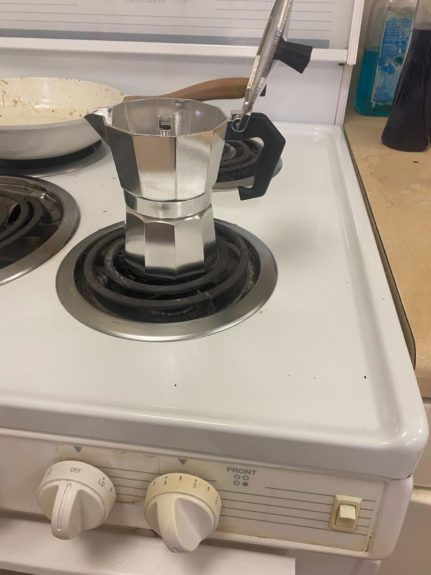
Step 1: Fill your moka pot’s base with water of any temperature up to the bottom of the valve.
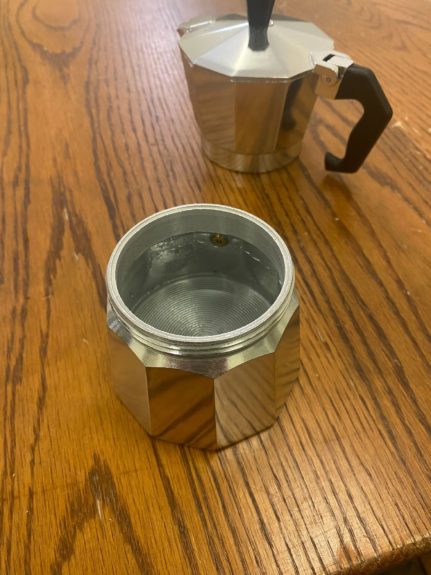
Step 2: Insert the filter basket into the base. Fill the filter basket to the brim with espresso grounds. Don’t pat down/compress the grains; leave them loose.
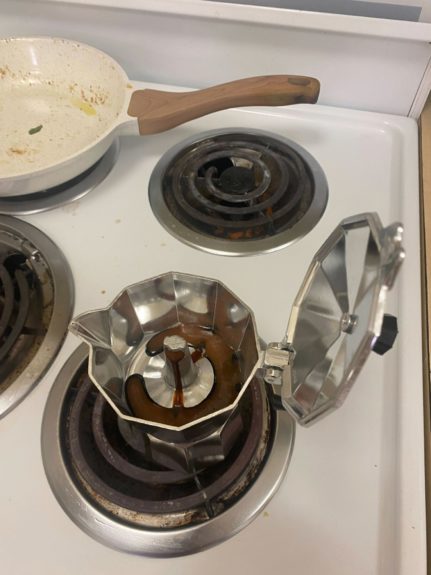
Step 3: Screw on the top of the moka pot and place it on the stove. Turn the stove to medium heat, and open the lid of the moka pot so you can see when brewing is complete.
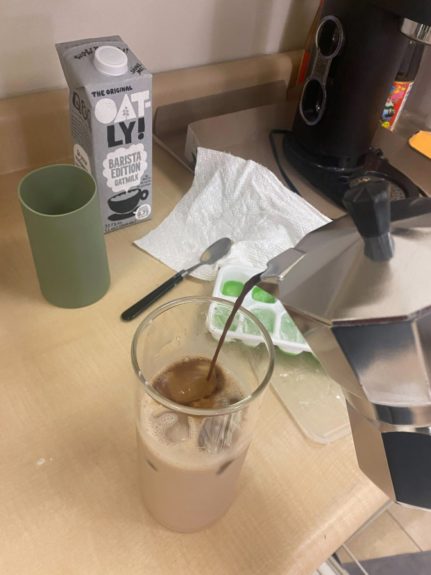
Step 4: In about five to ten minutes, depending on the size of your moka pot, the water will begin to boil. You should be able to hear it. Brewed espresso will begin to spill out of the stem. Once the top is 3/4 full or the brewing stops, turn off the heat. The espresso is done!
Step 5: During or after when the espresso is brewing, prepare the milk and ice. Place your desired amount of ice cubes in a cup, and pour milk over it. I kind of eyeball the amount of milk. It’s always good to add too little milk rather than too much to start with; you can always add more if you decide you want your latte lighter after adding the espresso.
A quick note on this part of the process: don’t be afraid to add a ton of ice. The more ice, the quicker the espresso will cool when you add it, the less the ice will melt, and the less watery your latte will be. Personally, I am very anti-ordering coffee with light ice. With a latte in particular, you’re getting the same amount of caffeine no matter what. Less ice just means more milk and a watery, lukewarm product.
Step 6 (optional): If you want to add flavor syrup, this is the point at which to do so. You can either pour your brewed espresso into a separate cup and mix the flavor syrup in (this will help it dissolve if it’s a thicker syrup, like mocha) or pour it straight into the milk-ice mixture.
Step 7: Pour the espresso over the milk and ice. If you’re using a glass cup like I am, it’s best to do this in chunks to avoid overheating—you don’t want the glass to shatter.
You don’t necessarily have to use all the espresso in the moka pot. For reference, moka pots are usually sized according to the approximate number of espresso shots they make. I’m using a three-cup pot, meaning that if I use the entire brew, I’m drinking about three shots of espresso. Smaller pots typically make one shot, while larger options can make up to nine shots at a time. You can approximate how many shots of espresso you’re drinking based on how much of the brew you pour, but I usually just go all-in with the full cup to avoid wasting espresso grounds (and because I’m addicted to caffeine).
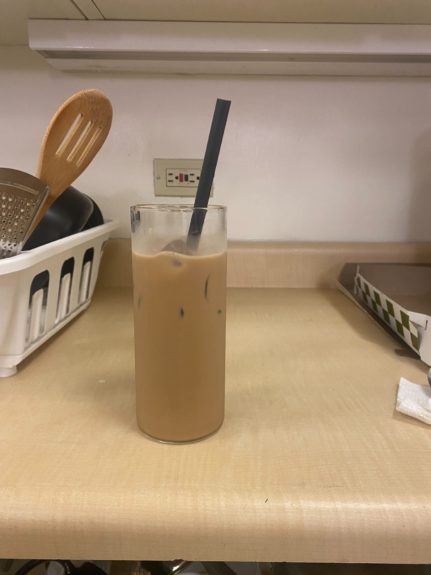
Step 8: Mix, mix, mix! The ice will melt as you pour the espresso. To avoid letting all of it melt at once, start mixing ASAP. After mixing, take an experimental sip to see if you want to add more milk. You can also add more ice cubes to keep it from getting lukewarm if all your ice is melting.
Step 9 (optional): As you can see, I’ve decided to try out cold foam! Cold foam is often paired with cold brew coffee, but it goes great with anything. For an iced latte, it can be used to replace the foaminess/creaminess you’d get from steaming milk for a hot latte. I’ve also heard it’s super good with iced matcha lattes. I was a little unsure about mixing dairy cold foam with an oat milk latte, but the taste worked for me. I may be lactose intolerant, but it’s worth the stomach ache.
Step 10: Drink up!
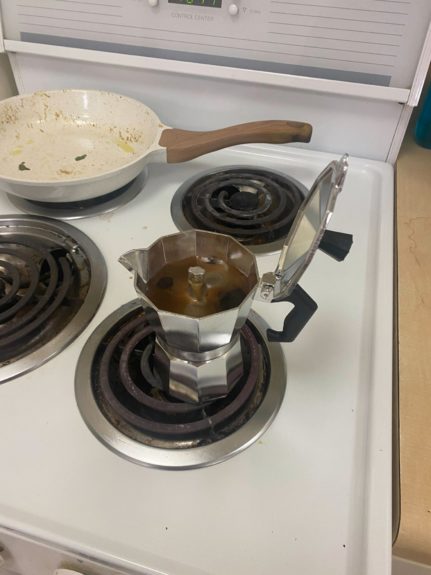
(Sorry about the dirty pan in the background; I forgot it was there).
And there you have it! My favorite thing about the moka pot method is the taste. In my opinion, it’s virtually indistinguishable from the espresso you’d get from an actual espresso machine—and even if you can tell the difference, it’s no less quality! It’s far preferable to instant espresso, in any case, and super versatile. Go forth and save money on coffee!
All images via author
Header image via author and Canva
