 1 Comments
Barnumbia coffee snobs—listen up. I’m pretty sure I have perfected cold brew.
The Ingredients.
- 1 cup of coffee grounds, coarsely ground
- 8 cups of water
The Tools.
- Pitcher, mason jar, or any other container
- Cold brew bag, cheesecloth, or a coffee filter
- If using cheesecloth or a coffee filter, a piece of string
- Measuring cup
- Spoon, fork, or knife
The Instructions.
- Measure your coffee grounds and pour them into your cold brew bag, cheesecloth, or coffee filter. If using a cold brew bag, I do this right over the pitcher/jar/etc. that I’m making the cold brew in, to avoid spilling any. Tie off your cold brew bag, or, if you’re using cheesecloth or a coffee filter, use your string to tie it into a little pouch, effectively making a big coffee tea bag.
- Place your coffee bag into your cold brew receptacle. Pour four cups of water onto it.
- Use your spoon, fork, or knife to stir and poke the coffee bag around, making sure that it is completely saturated. If your coffee bag is floating, use the utensil to keep it submerged.
- Place your cold brew into the fridge and let it sit for at least 12 hours, but not more than 24.
- After at least 12 hours have passed, remove the coffee bag and squeeze it over the receptacle. This is some of the strongest cold brew, so make sure you get it out! You can discard the coffee after this step.
- Add four more cups of water to your cold brew. Now you’re done! Store in the fridge for up to five days, and enjoy!
The Secrets.
I have been perfecting this cold brew recipe and method for over two years now, combining tips, tricks, ratios, and methods from all across the internet into this unmatched guide. Some parts of this recipe may be controversial within the coffee/cold brew snob community, so I will explain some of them (and give some more helpful info!)
It is really important that your coffee grounds be coarsely ground, or you will end up with a really strong, muddy cold brew. The finer the coffee grounds, the more surface area there is to steep into the water, increasing the speed of coffee extraction. Because this is a long brew, the coarse grounds help prevent over-extraction. I usually get my grounds at Starbucks (where they grind them for you) and ask for a really coarse, french-press-style grind.
I measured in cups for this recipe, mostly because I find it makes the perfect amount of cold brew to last a few days. However, as long as you maintain the 1:4:4 coffee to water to water ratio, you can make any size batch you want! There are a ton of other cold brew ratios out there, but I find that any more coffee makes it too strong, and any more water leaves you with a weak, watery brew. 1:4:4 gives it the perfect strength, is easy to remember, and only requires having one measuring tool.
This is where it gets really controversial. A lot of people in the cold brew community swear by letting cold brew sit at room temperature in order to get the best extraction and flavor. I have tried to make this work with countless different ratios, coffee coarsenesses, and other variations, but whenever I’ve tried it, I ended up with a super muddy and gross cold brew. I think that having it steep at room temperature over-extracts the coffee grounds, resulting in a really strong and undesirable flavor. Because of this, I highly recommend letting your cold brew steep in the refrigerator, despite what many other online sources will tell you! This also means your cold brew will be nice and cold right when it’s done.
That’s all I’ve got! Feel free to use any sweeteners, creamers, or syrups with your cold brew, my favorites are anything peppermint mocha or a classic sweet cream. The flavor of cold brew is much lighter than pour-over coffee or espresso, and I think it pairs well with most add-ins. Stay caffeinated!
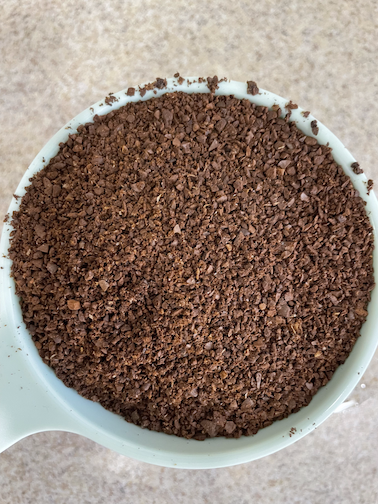
Coarse coffee grounds 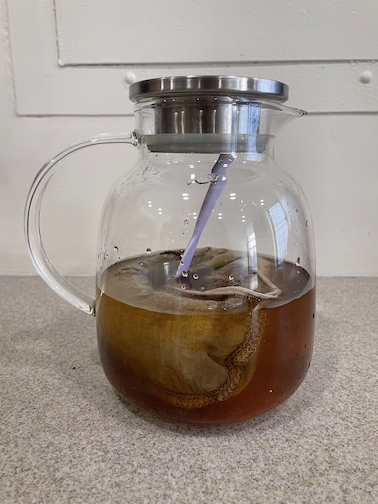
Make sure your grounds are fully submerged 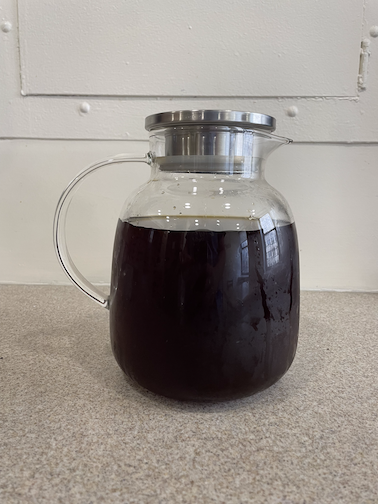
Finished cold brew!
Images via Sydney Wells

1 Comment
@Anthony Fantastic article! I can’t believe it’s been two years since you started, and I am so glad that you finally perfected your methods!